Best of Dolomites - Around the Sorapiss Group on Via Ferrata Vandelli and Berti
Lago Di Sorapiss was on our Dolomites Bucket List for some time. As we like Via Ferratas, we connected the visit with a beautiful climbing route: The circumnavigation of the Sorapiss mountain range. The tour includes two Via Ferratas (Via Ferrata Vandelli and Via Ferrata Berti) and the possibility to catch sunset and sunrise at the Sorapis Lake. The whole tour is doable in two and a half days.
This mountain climbing and hiking tour features two Via Ferratas (Via Ferrata Berti and Via Ferrata Vandelli) with a difficulty of C and some unsecured climbing parts along the Sentiero Carlo Minazio. The access to Via Ferrata Berti is rated I–II. Considering this and the length of the trail, the tour is not suitable for beginners. Also you should be fit.
There are two huts (Rifugio San Marco and Rifugio Vandelli) and three Bivaks available on the route. You should book your stay at the huts in advance as Rifugio San Marco is very small and Rifugio Vandelli is often fully booked due to its prominent location near Lago di Sorapis. You can book Rifugio San Marco via telephone, check the phone number on their website. For bookings at Rifugio Vandelli, you can find the contact at their website, which is unfortunately only available in Italian.
There are a number of ways to split the tour. We chose to do it clockwise so you need to climb Via Ferrata Vandelli downwards but you climb Via Ferrata Berti upwards. In my opinion it is easier to walk it in that direction. Now you can decide from which starting point you begin.
There are two options. You can start from Passo Tre Croce and hike to Rifugio Vandelli (about 2h). Either stay there for the first night or skip the hut and go on to Rifugio San Marco to stay your first night. Another option is to stay at Bivacco Slataper so you don’t have to do the climb down to Rifugio San Marco. Or you can start from San Vito di Cadore and hike to Rifugio San Marco (about 2-3h) and stay there for the first night. I would not recommend to do the whole trip from San Vito di Cadore to Rifugio Vandelli in one day as it would be quite a long hike and you have the technical difficult part, the Via Ferrata Vandelli at the end of your already exhausting day (but of course when you are in really good shape you can do it). There are even people doing the whole loop in one day.
We started our hike in the town of San Vito di Cadore and hiked to Rifugio San Marco in the afternoon. The next day leads you further up and along the Sentiero Carlo Minazio and the Via Ferrata Vandelli down to the Lago di Sorapiss and Rifugio Vandelli, where we stayed the second night. On the next day, you hike back along Via Ferrata Berti down to Rifugio San Marco and back to San Vito di Cadore, the village where you started.
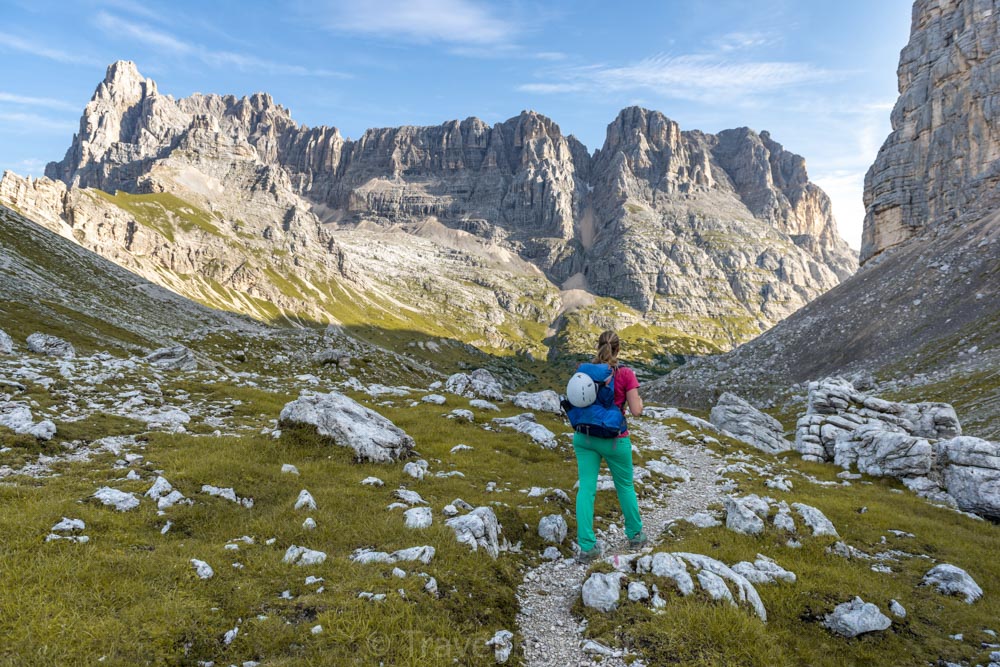
Day 1: San Vito di Cadore to Rifugio San Marco
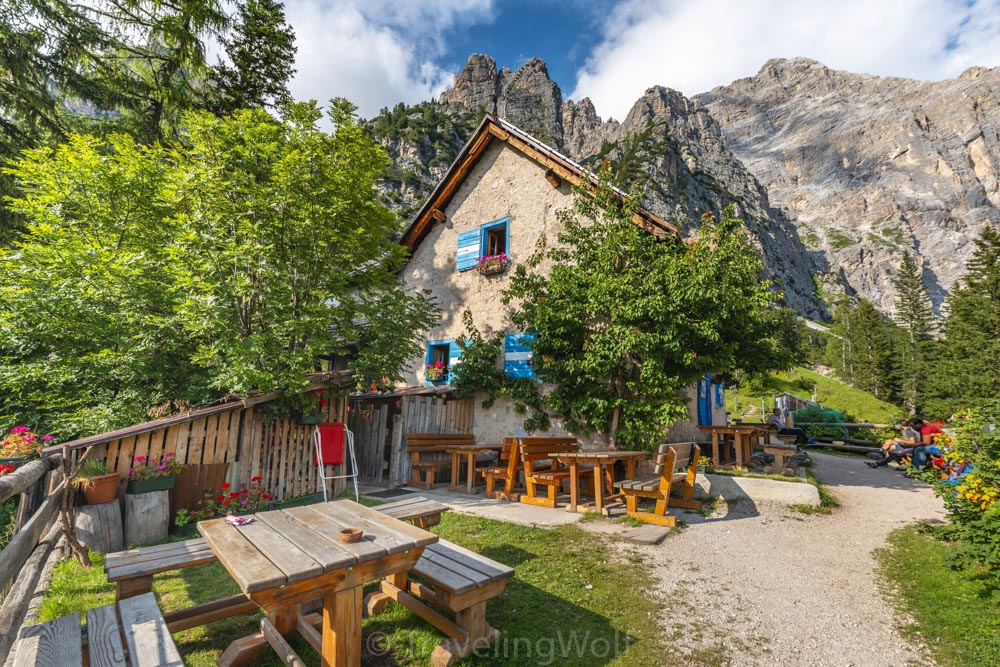
The first part of the tour is hiking to Rifugio San Marco from the Village of San Vito die Cadore. You can park your car near the ropeway station by the Baita Sun Bar (no parking fee, 2019). From there it is about 3 hours of hiking to reach the hut. The first part winds along a gravel road in lots of serpentines until you reach Rifugio Scotter. From there a hiking trail leads further up. At some point, you reach a little viewpoint from where a nice view of the surrounding mountains presents itself. After a short but steep climb Rifugio San Marco appears. This hut is really small and cute with blue windows and a little pavilion with a great view. They even had several mini sheep and a nice dog. The food was good and for desert we got self-picked berries.
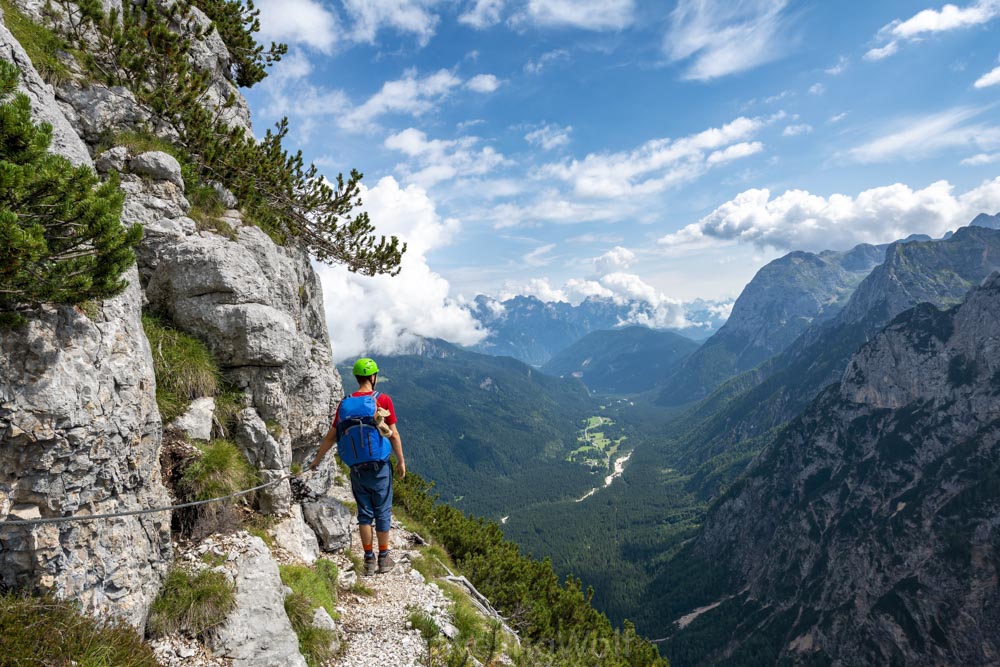
Day 2: Rifugio San Marco to Rifugio Vandelli via Sentiero Bonacossa and Via Ferrata Vandelli
The first part of the second day is a steep climb up to the Forcella Grande. The trail starts directly behind the Rifugio San Marco and winds upwards in steep serpentines until you reach a plateau with grassy slopes at the Forcella Grande.
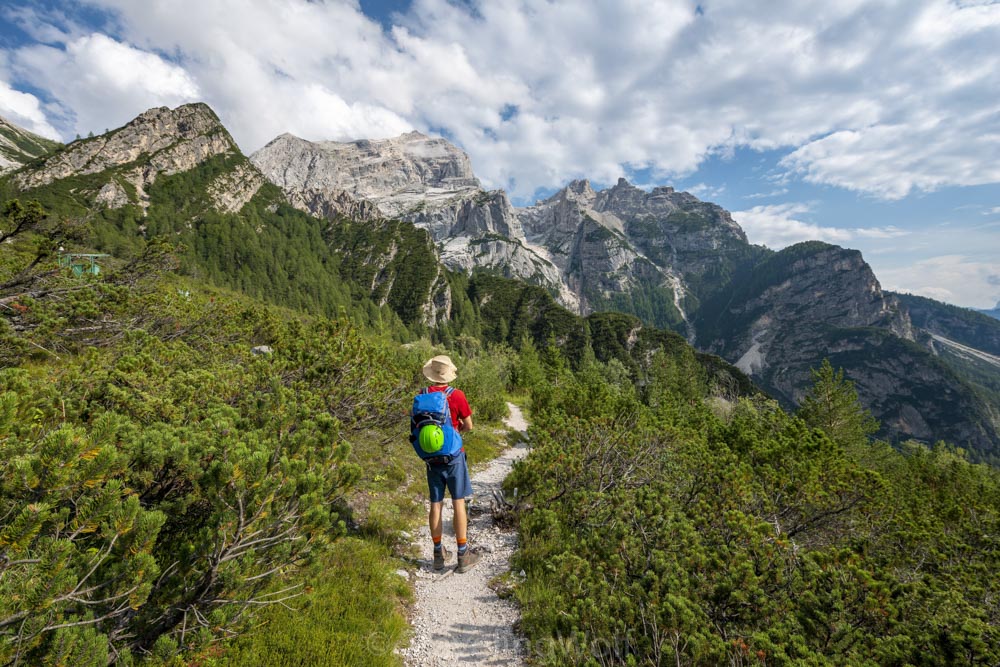
The trail crosses the slopes and where the Sentiero Carlo Minazio starts it becomes more and more exposed with short and easy climbing and scrambling parts. From there, the views open up into the Valle di San Vito with the Rio di San Vito deep down in the valley. As the trail gets more exposed, the views of the surrounding mountains get better.
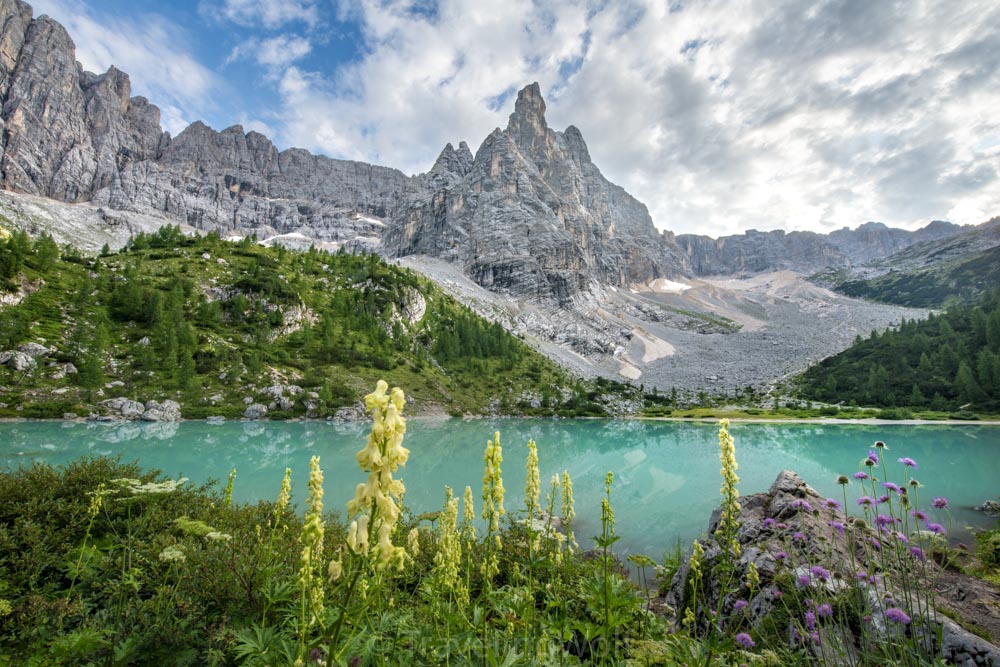
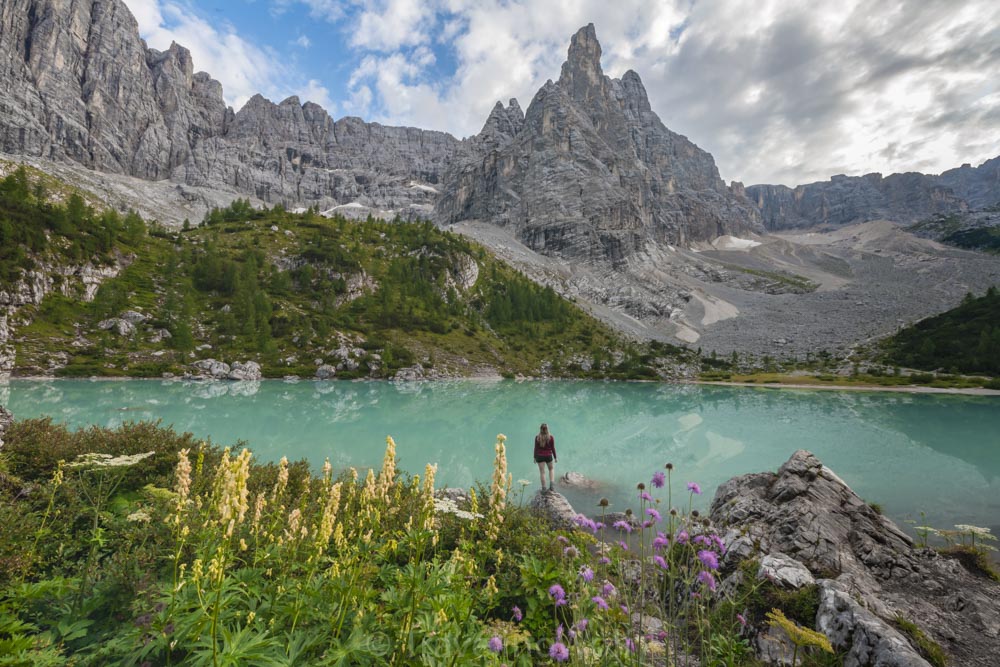
After some time you pass Bivacco Comici. The trail is now steeper until you get to the highest point of today. The view opens up to the Cima Cadini and Monte Cristallo. Now the Via Ferrata Vandelli starts. Along the way down, you get the first views of the azure blue Lago di Sorapiss and todays destination: Rifugio Vandelli.
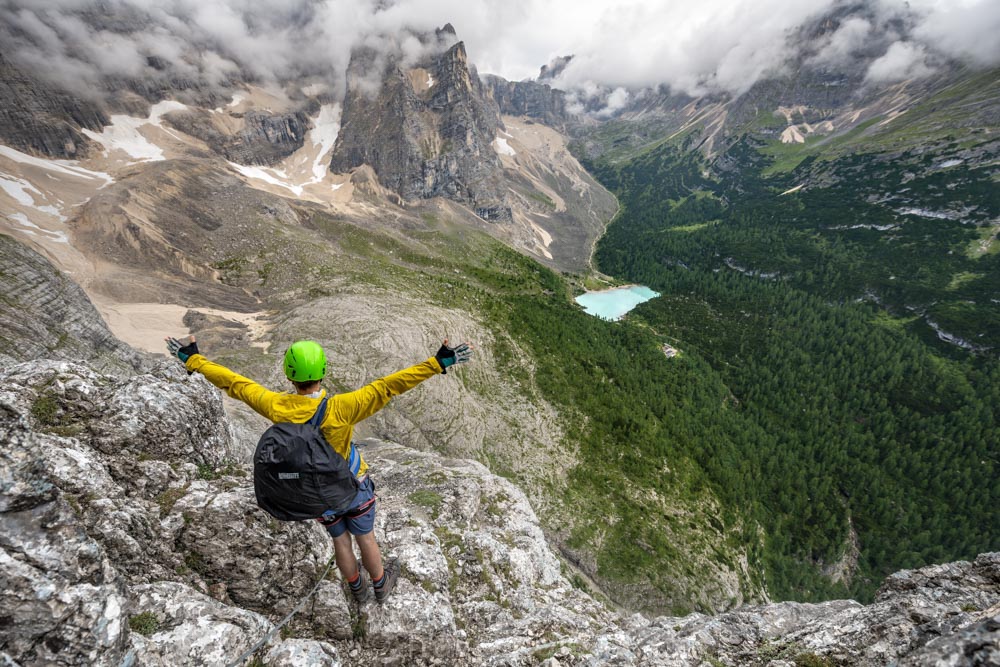
At the end of the Via Ferrata, an easy hiking trail leads you down to the Lake and the Rifugio. In the afternoon and evening hours the sun nicely shines on the Dito di Dio peak behind Lago di Sorapiss. Now take your time to take photos and enjoy the beauty of this turquoise mountain lake.
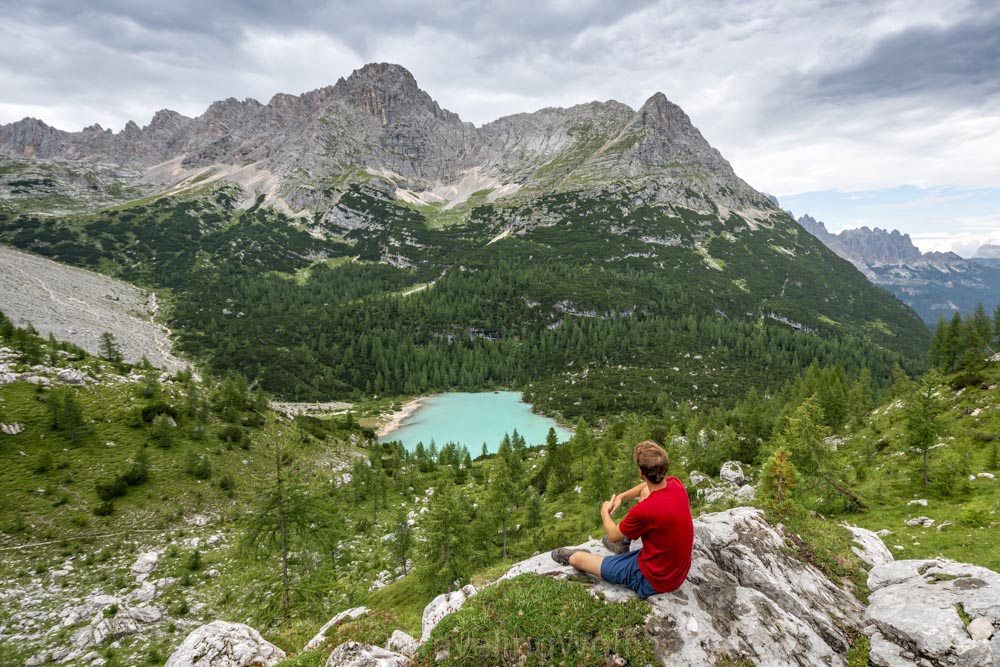
Day 3: Rifugio Vandelli to San Vito di Cadore via Via Ferrata Berti
After taking some more pictures of beautiful Sorapis Lake you head out for today’s hike. The trail continues around Lago di Sorapiss and winds up along the glacial moraine of a former glacier up to Forcella Sora de la Cengia del Banco.
Here the trail leads further up through gravel fields. Be careful around here! There are many junctions. Make sure to follow the right trail. Always have a good look at your map and GPS as the trail isn’t marked well around here. We had a lot of fog and absolutely needed our GPS. At some point, you reach a more rocky area where you need to climb (easy). Here the trail is marked again with big red arrows. On this section, the view into the Valley and to San Vito di Cadore is incredible. Now, the trail is getting really exposed with a >500m drop on your right. To your left emerge massive cliffs, to your right is nothing, only the valley far down below.
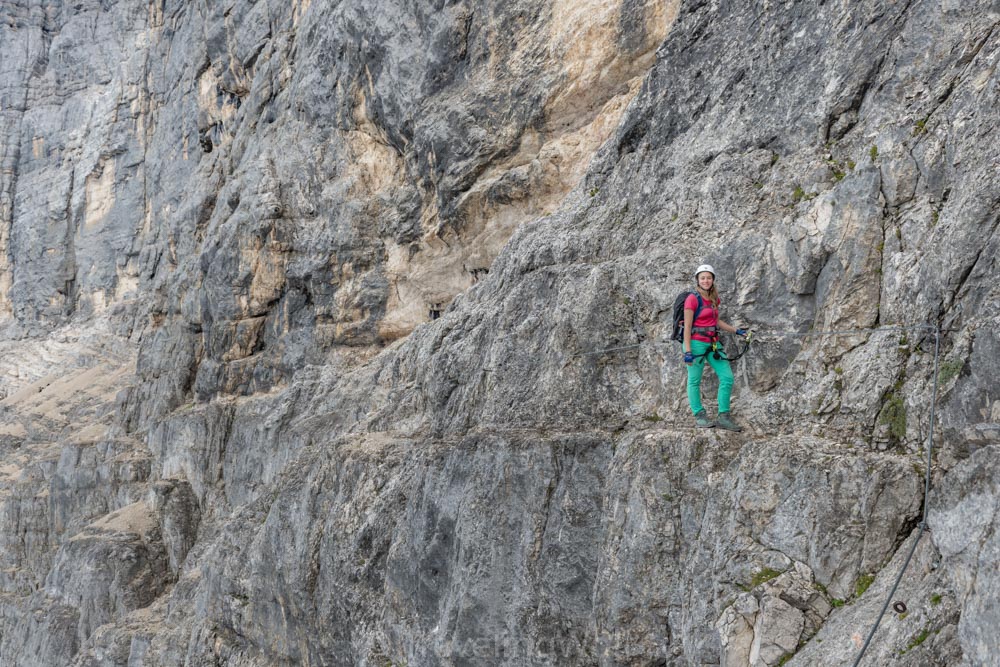
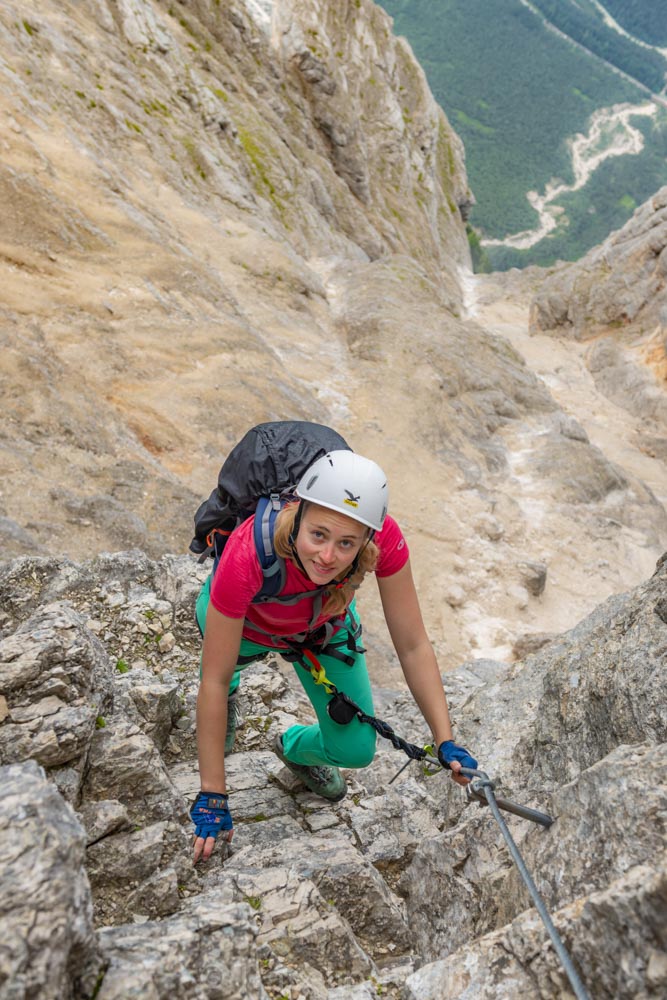
Be careful where you set your next step. Always watch the trail marks as you can still lose the way and walk into dead ends. The trail goes slightly up and down in the beginning of the Via Ferrata Berti. At this part the trail is the most exposed. After some time the Via Ferrata is changing direction and is going up steep.
At the top you are back at the grassy plateau where we have already walked by yesterday. After passing the Bivacco Slataper you turn right until you reach yesterday’s trail. Now you can just walk back down to San Vito di Cadore, passing Rifugio San Marco.
Explore more like this
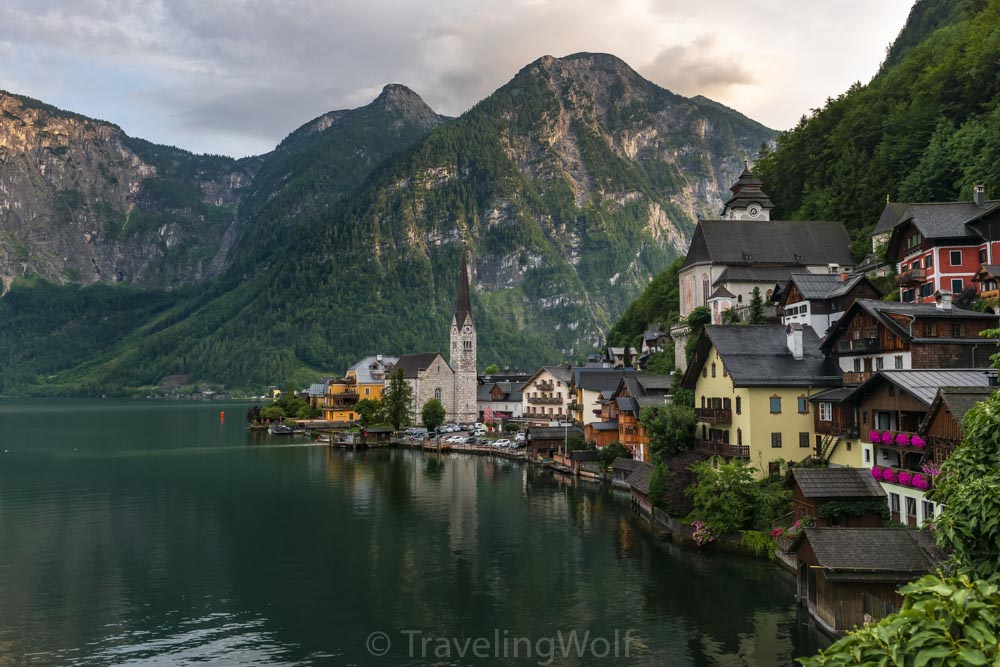
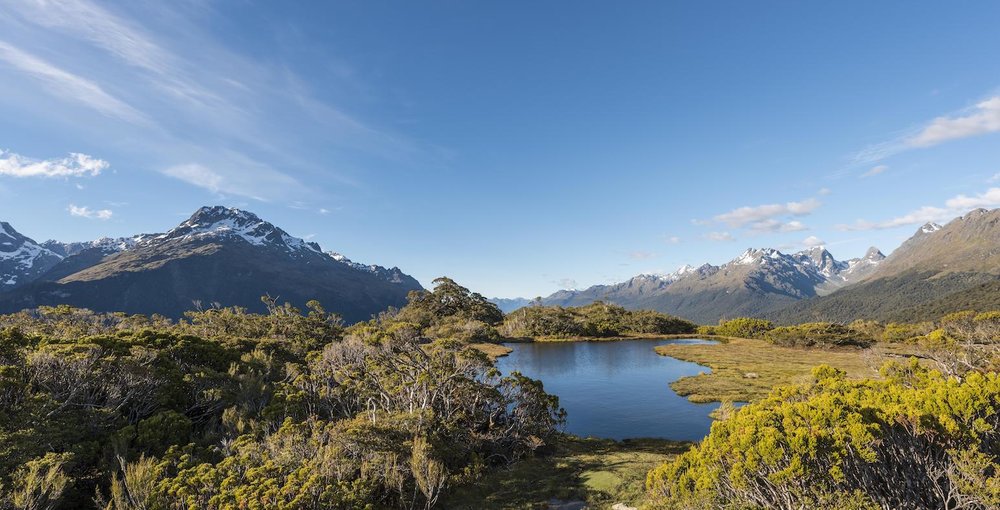
Multi-Day-Hike around Hallstatt - in 5 days around Dachstein and Gosaukamm
The Salzkammergut offers many wonderful opportunities for hiking. Our five-day hike starts in the beautiful town of Hallstatt on Lake Hallstatt and takes us around the Dachstein massif and Gosaukamm....
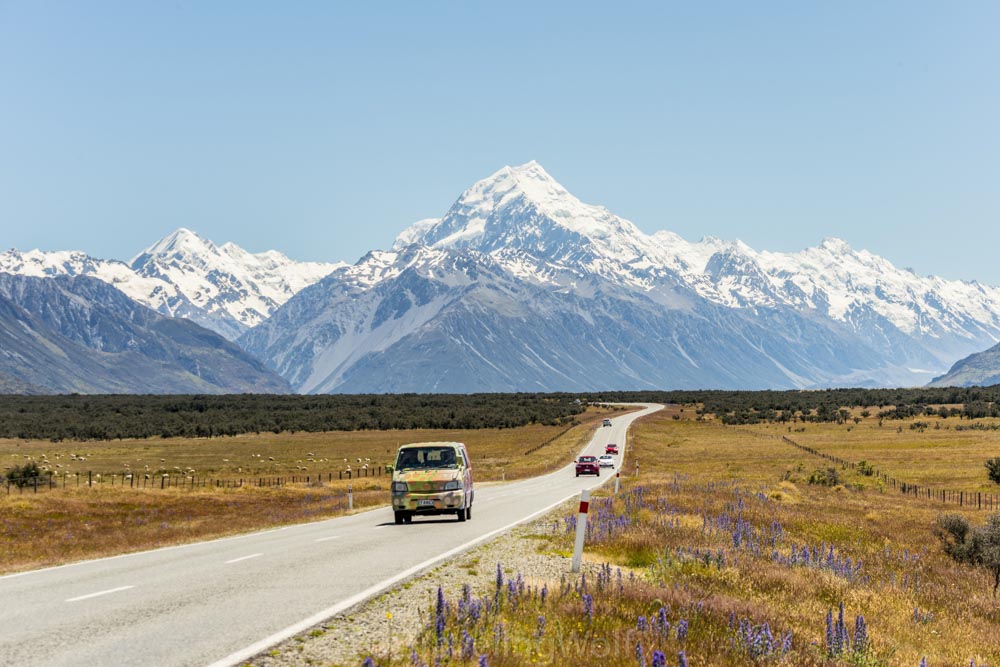
New Zealand - The Perfect Five Week Iternary
New Zealand, well known as Middle Earth from “Lord of the Rings”, is a magical place on the other end of the world. We totally fell in love with New...
Comments